07
2012Adding Fake Shadows In Max
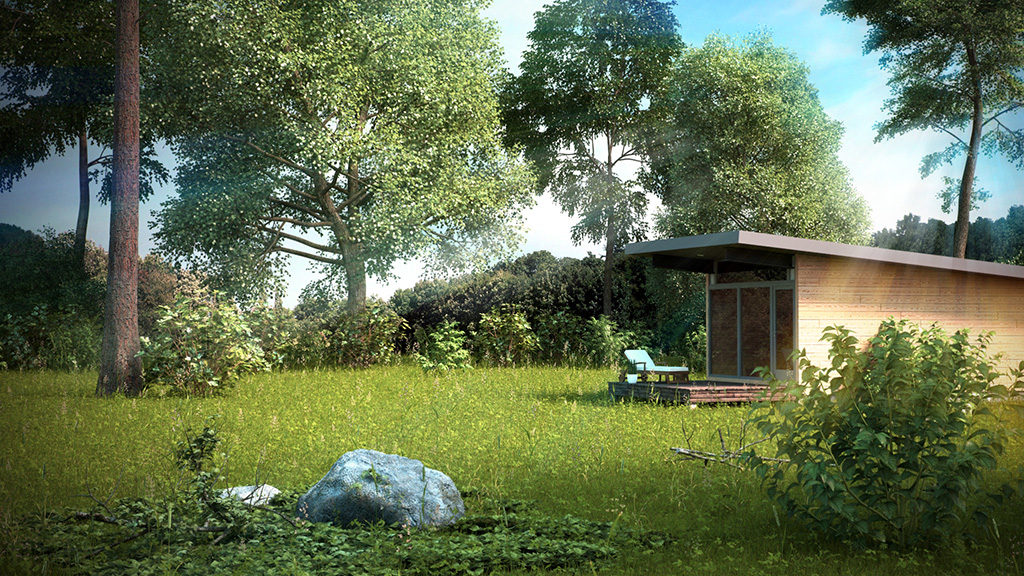
There have always been multiple ways to create shadows for Architectural Visualizations. You can find tutorials on how to fake a shadow in Photoshop but today I will show you my method for crating simple shadows in 3D Studio Max which has been around for many years. It may not be physically accurate but it’s quick and adds little to no rendering time. I use this method because its already setup properly for me and takes just a little tiny tweak from project to project to get something different.
First download a high resolution tree opacity map. You can easily search for a few online but you want to make sure there are good high quality open areas within the opacity map. If it’s solid black I would move on to another one.
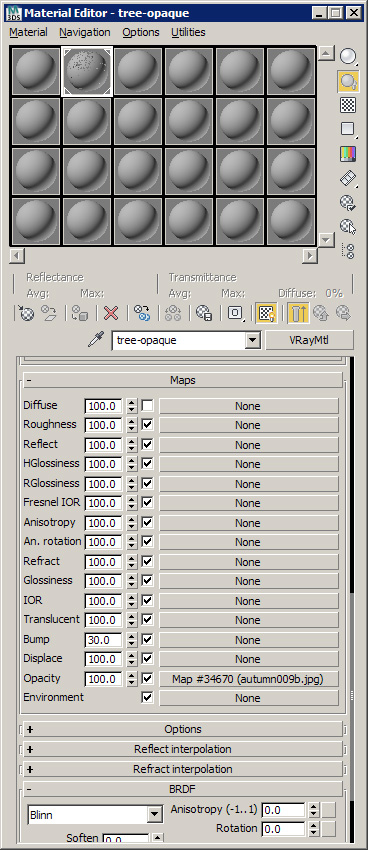
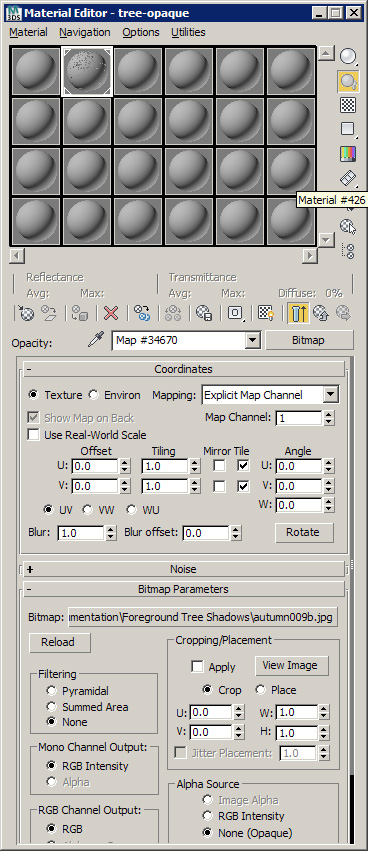
Add the opacity map to a plane created in max at an appropriate size and create a material with this opacity map in the opacity map slot. Ignore all other material settings except to change the filtering from Pyramidal to None. This one setting change saves loads of rendering time on opacity maps.
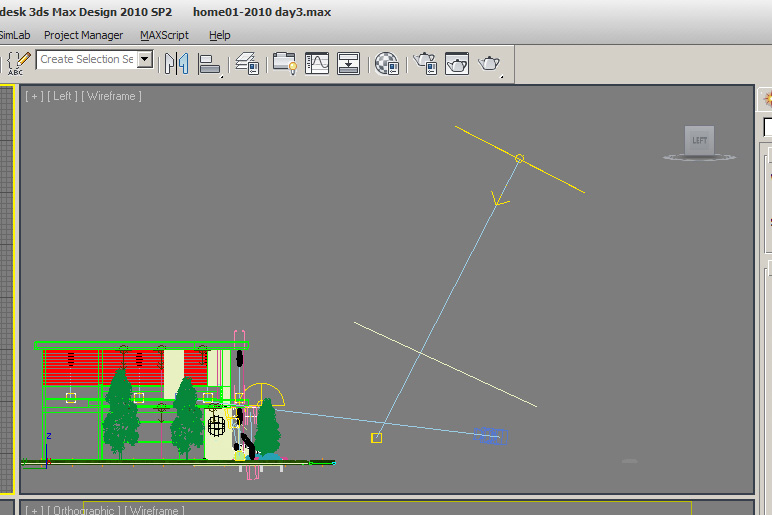
Insert a vray light or regular light depending on your rendering program used to cast shadows. Once that is adjusted you need to rotate the opacity map plane to as close to perpendicular of the sun angle as possible to limit the shadow distortions.